


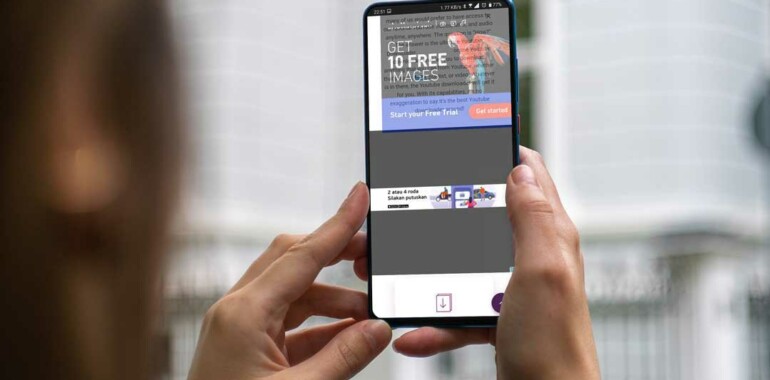
Ads that appear when we browse the internet on cellphones can indeed be annoying. It's no wonder that some users want to block ads. To answer that, here we discuss several ways to get rid of ads on Android phones that suddenly appear.
Short Solution
If you want to remove harmful ads, please adjust Google Chrome browser settings and remove suspicious apps. If you want to block ads completely, use another browser and use an adblocker application.
How to Get Rid of Ads on Android Phones that Suddenly Appear
There are several ways you can do it on an Android phone, depending on the goals you want to achieve. Do you just want to increase security and reduce risk, or stop everything.
What also reduces risky ads is the possibility of malware, redirecting web pages that we don't want, as well as pop-ups or browser tabs that appear continuously.
On the other hand, Android also provides space for freedom so that we can use settings or applications as a way to block ads on cellphones.
Blocking ads affects many of the services that are available free on the internet. If you find a particular app, service or website useful, please support it (if you provide a subscription) or whitelist it.
1. Set Site Settings in Google Chrome
In the Google Chrome browser, press the three dots ⋮ then select Settings.
Enter the Site Settings section.
On the Site Settings page, select Pop-ups and Redirects, then press the toggle to disable.
On the Site Setting page, select Ads, then press the lever to deactivate.
svg%3E
svg%3E
This action will not remove the ad completely, but it reduces the risk of interruption.
2. Stop Notifications From Certain Websites
Press the three dots ⋮ to the right of the address box.
Select Settings
Go to Notifications
Swipe until you find the Sites section.
If you want to turn off Chrome app notifications, press the Show notifications lever.
If you want to turn off notifications from a specific website, search for that site and hit the check mark (so it's not there).
If you want to get rid of the notification red dot, press the Allow notification dot lever.
Also Read: Spark Windows Email Application Available, There are New Features & Appearance
screenshot of google chrome settings info app
svg%3E
You can read more about this in the tutorial on how to turn off Chrome notifications.
3. Turn on Play Protect
Open the Play Store app.
Click on the profile picture.
Select Play Protect.
Press the gear icon ⚙ in the upper right corner.
Make sure all levers are active.
You can also press the scan button to check the application.
svg%3E
svg%3E
This action utilizes services from Google to protect us from harmful applications. This action will also remove access permissions from applications that you haven't used for a long time.
4. Remove Suspicious Applications
Press and hold the phone's Power button.
Press and hold the Power off button.
A menu will appear to restart to Safe Mode.
Press OK.
After entering Safe Mode, delete the applications that you recently installed, one by one.
Restart the phone and see if the problem gets resolved.
Repeat if you haven't already.
svg%3E
svg%3E
It's a good idea to note down which applications you deleted, so if it isn't, you can reinstall the application.
This action is useful if you have previously installed an application, and then annoying ads appear.
5. Use Premium Apps
Well, the name is also a premium alias paid application. Developers of premium applications or services earn income from the fees you pay. Not from advertising. That way, it is less likely that there will be advertisements in the application.
6. Change DNS
Another step you can try is changing the network DNS. This is a way to remove ads on a cellphone without an application. Please note, DNS settings can be different for each cellphone.
How to Change DNS on Android:
Go to Settings > Network and Internet > Private DNS.
Select Private DNS provider hostname and enter dns.adguard-dns.com.
android network settings page image
svg%3E
If you want to know more about DNS settings, please read our article on how to set DNS on Android
7. Install the Extension in the Browser
Unlike the desktop, the Google Chrome browser on Android doesn't allow us to install extensions. Therefore, please change the browser. You can choose Firefox or Kiwi browser. Both browsers support the adblocker extension.
After you install one of them, you can look for extension or add-on settings in Settings. Then install Ublock Origin and activate it.
Sumber: https://urbandigital.id
Referensi Lainnya:
https://wigatos.com/18973-cara-menonaktifkan-play-protect/
https://wigatos.com/18964-cara-menonaktifkan-paket-telkomsel/


